


LEARN and CREATE – the easy odd-count tubular or spiral peyote stitch Wednesday, 30 November 2016
If the step-up of the even-count tubular peyote seems daunting to you, try out the uncomplicated odd-count spiral peyote. This easy tubular peyote stitch is very accessible and a perfect project for beginners.
Challenge:
- Understanding the thread path and controlling the thread tension.
Supplies for the bangle bracelet in tubular peyote stitch:
- http://dunebeads.com/en/delica-seed-beads-size-11-japan
- dowel or knitting needle or thick straw or a paper tube-shape
- thread, needle
- scissors and beading mat
Weaving instructions for the tubular even-count peyote stitch:
- take a length of thread, pick up 9 Delica beads, while leaving a generous thread tail to hold
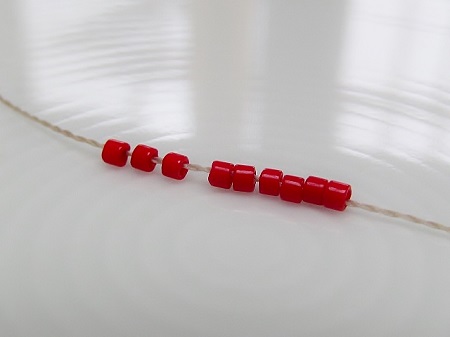
- to make a circle, stitch back through all the beads as well as one extra bead
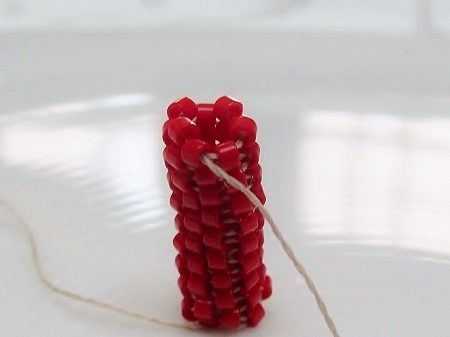
- put the circle over the right size dowel in the sense that the beads are aligning nicely
- block the tail of your thread on the dowel with your fingers
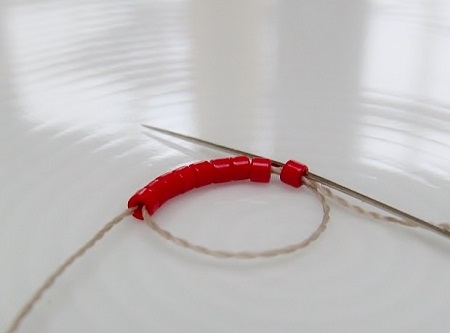
- just like with regular flat peyote, to create the first row, you *pick up a new bead, you skip a bead and you go through the next bead**
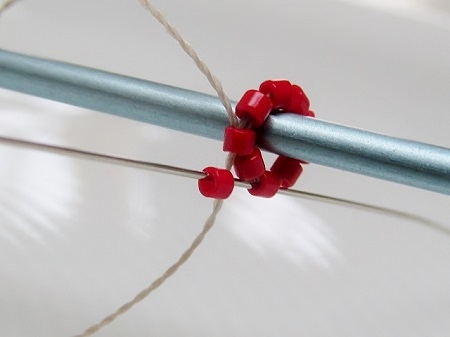
- to ensure a tubular shape, tighten your thread so that every new bead stacks nicely on top of the preceding round of beads
- repeat * ... ** three more times
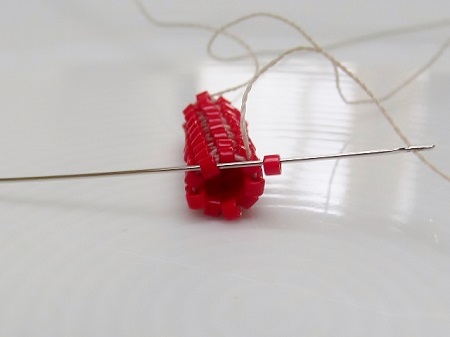
- at the end of the row, you will see two beads sitting next to each other at the same level
- to start the next round and close the gap, pick up a bead and go through the next bead which sticks out
- work slowly and carefully in the beginning and persevere as stitching will get easier
- after a few rounds you can put the dowel aside
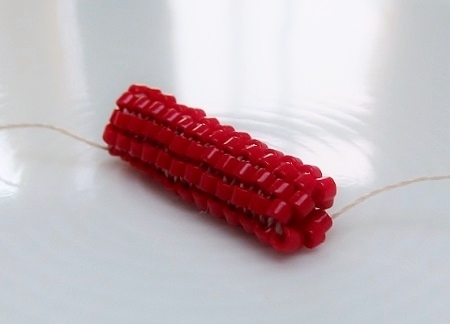
- continue until you get the desired length
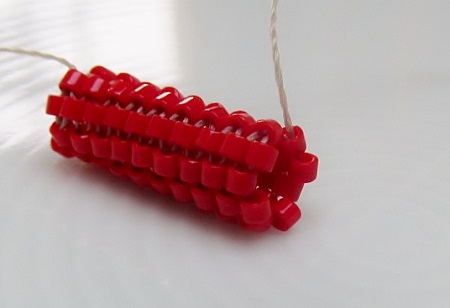
Observation :
- As you fill out the gap created by two beads sitting next to each other at the same level at the end of a row, you will always find one bead sticking out at the top of your work. Therefore, it is advisable to use end caps to finish your necklace.
See you later!