


CONTINUATION: flat vertical netting
- you'll notice that you created a series of waves
- on the edge of each wave you are going to attach the next diamond shape
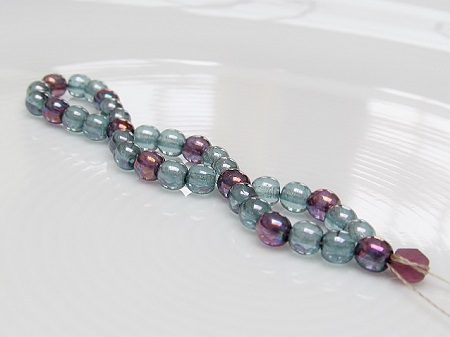
- so never go through the middle crossover beads of the wave
- create the next U-turn: pick up 2 beads, 1 crossover bead, 2 beads, an extra crossover bead for the U-turn and 2 more beads
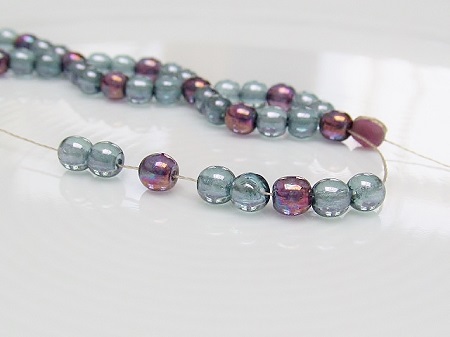
- in short: you pick up 8 beads, that is, one segment, one crossover bead and 2 extra beads
- pass through the first crossover bead on the edge of the next wave
- pick up the next segment (2 beads, a crossover bead and 2 beads)
- pass through the crossover bead in the middle of the edge of the next wavelet
- create the next segment and pull firmly on the thread
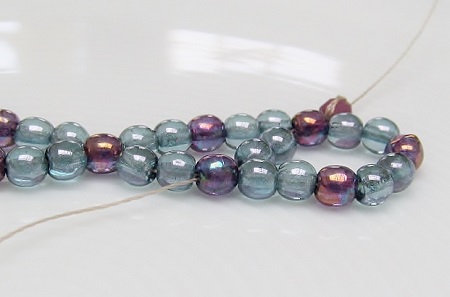
- make another U-turn and continue till you reached the desired length
- persevere as the first two rows are the hardest
Note: you may modify the amount of beads between the crossover beads at will.
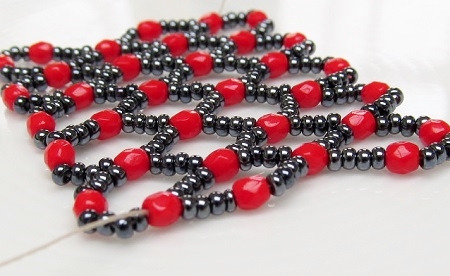
Enjoy and choose your favorite beads @ http://dunebeads.com/en/czech-fire-polished-round-beads !
Do not forget: have fun, because practice makes perfect. See you soon!