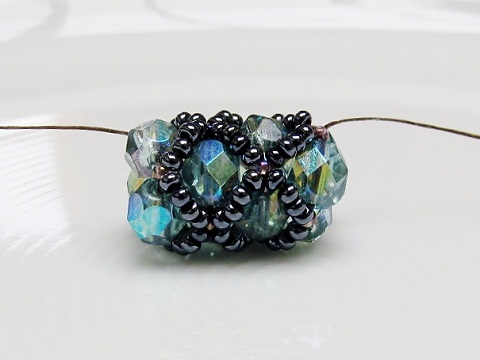
Who does not love a gorgeous rope necklace ? Well, you are in for a treat, because the filled tubular netting stitch guarantees you a supple rope that does not collapse. The moreover, the technique is versatile as you can use it with 3 mm, 4 mm or 6 mm beads. Just remember that 3 mm beads will give you a 6 mm diameter, 4 mm beads will create a 8 mm diameter and 6 mm beads a 12 mm diameter rope. So get out your favorite beads … and seed beads.
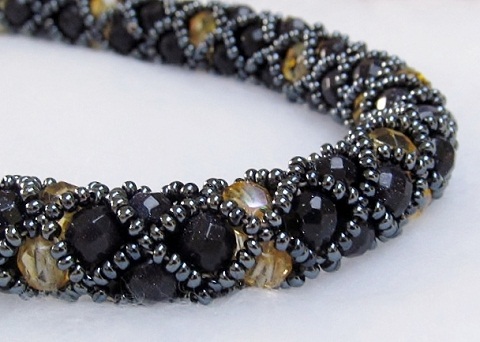
Supplies for a 12 mm diameter necklace rope:
- 6x6 mm filler beads : glass beads or gemstone beads
- 18 g. Czech seed beads 11/0 in a contrasting color (= A color)
- and preferably also some 11/0 in a secondary matching color (= B color), which will become your crossover bead color – strictly speaking, the second color is only there to make it easier for you to follow the pattern
- S-lon thread
- size 10 needles
- scissors
Instructions – weaving a filled tubular netting:
- before starting, lay out some small piles of 4 seed beads in color A so you can concentrate wholly on the process and structure
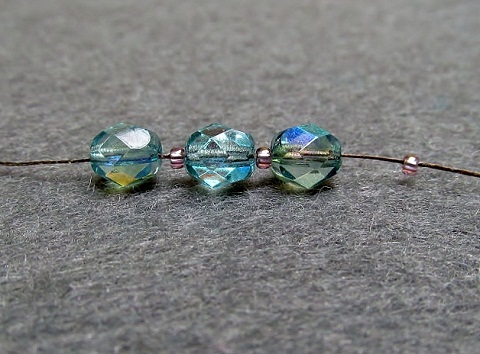
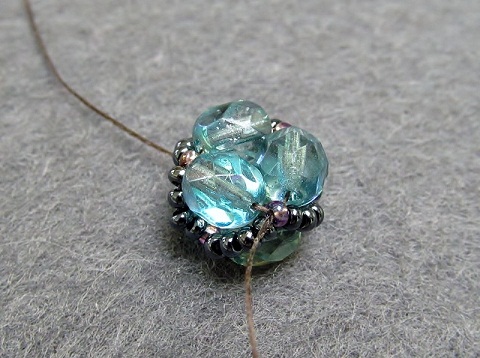
- to start: pick up a 6 mm filler bead, a seed bead B, a 6 mm filler bead, a seed bead B, a 6 mm filler bead and a seed bead B
- consider those seed beads between the 6 mm beads as your first crossover beads
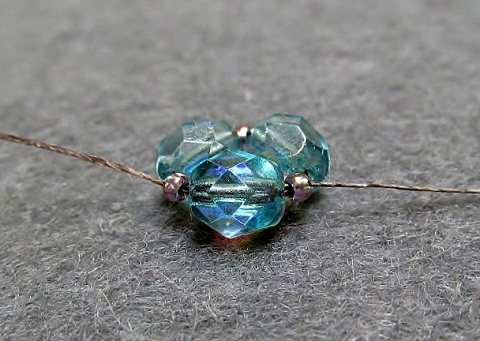
- form a circle by passing a second time through all the beads, but continue, past the tail end through the 6 mm bead and the first crossover seed bead
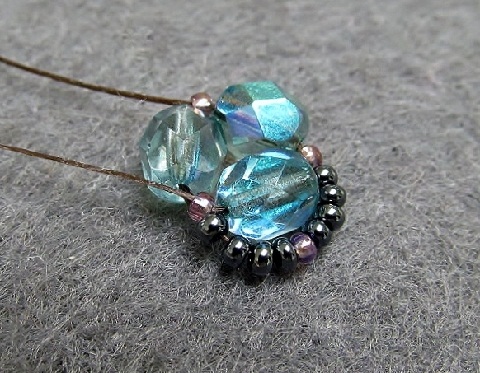
- now you will start to make the petals in which you will place your 6 mm beads, together they form a kind of basket
- **pick up 4 seed beads in color A, 1 in color B and 4 in color A
- pass your needle through the next crossover bead
- start over: 4 x color A, 1 x color B, 4 x color A
- pass through the following crossover bead
- pick up 4 in color A, 1 in color B, 4 in color A
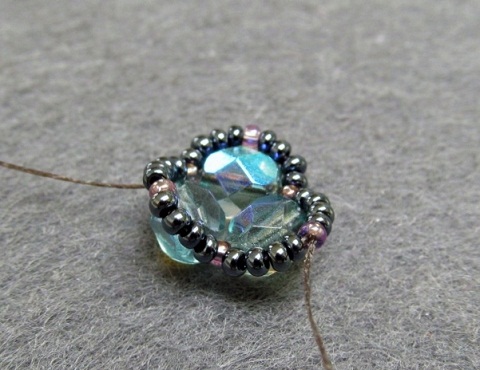
- and pass through the next crossover bead – you have created three petals
- as those petals need to form a basket for the filler beads, you push them slightly up and tighten the thread
- now you need to create a step-up and in order to do so you go through the next 5 seed beads = meaning, you go through 4 seed beads in color A and 1 crossover bead in color B to end up at the top of the petal.
SEE - part 2


