RSS

Blog posts of '2016' 'April'

TIPS and TRICKS for NEWBIES – a skinny Silky bracelet, a touch of Art Deco - part 1

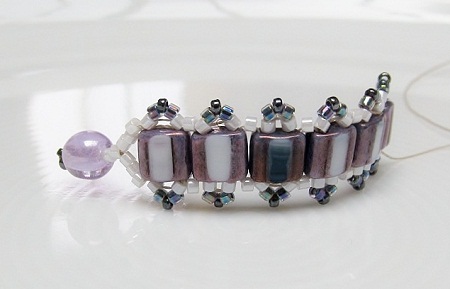
Square "Silky" glass beads permit to create bold geometric lines and symmetry. The result is a decidedly modern, sleek bracelet with a luxurious feeling in Art Deco style.

A touch of Art Deco, Bracelet

Challenge:

  • Mastering two-hole square beads by consistently working in a circle.

Supplies for the Art Deco bracelet :

Weaving instructions:

Starting:

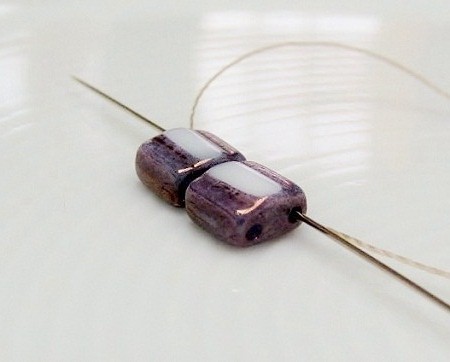
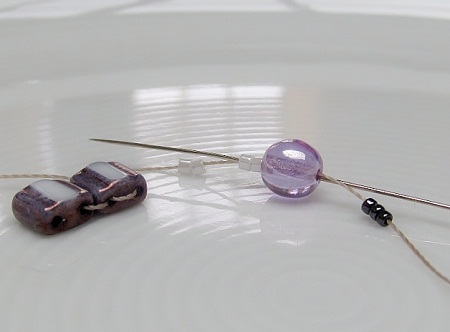
  • align two “Silky” beads and pass your needle on one side twice through both of them, leaving a tail thread of about 15 to 20 cm

Art Deco bracelet, starting

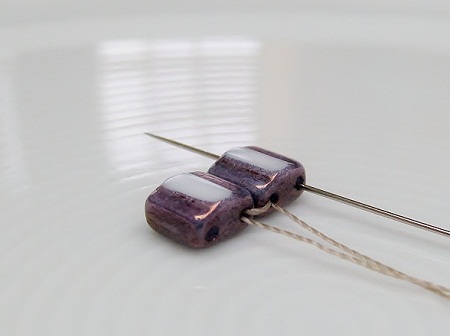
  • as you formed a circle, it permits you to reposition the two square beads side by side
  • it follows that you have joined the middle of two “Silky” beads
  • it has the added benefit that it also indicates the exact position of the clasp in relation to the bracelet
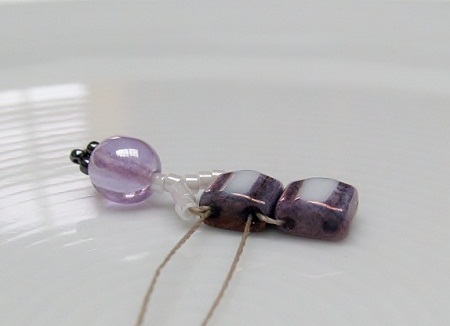
  • in order to keep those 2 squares together you have to maintain tension in the tail thread, so wrap the tail thread around your fingers

Art Deco bracelet, reposition the Silky beads

Creating the clasp:

  • pass your needle through the next hole situated on the outside of the same square bead
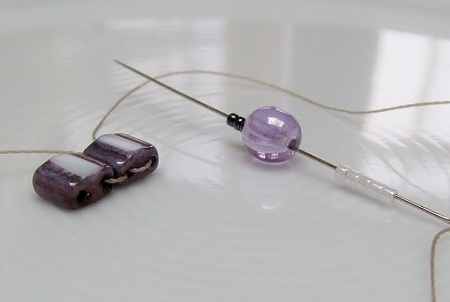
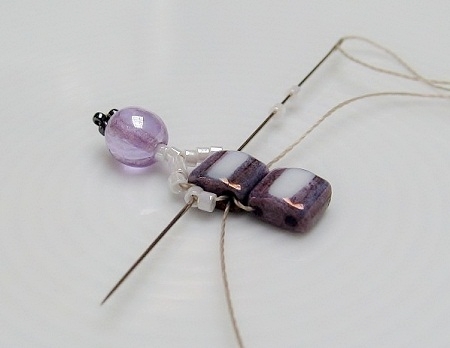
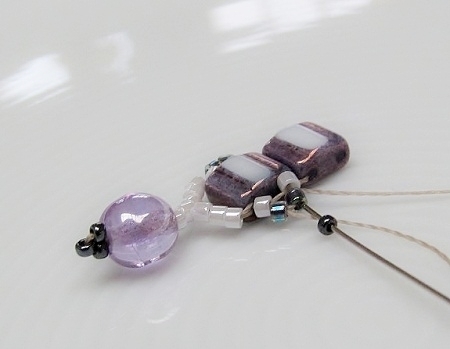
  • add five Delica's, one 6 mm round bead and three 15/0 seed beads

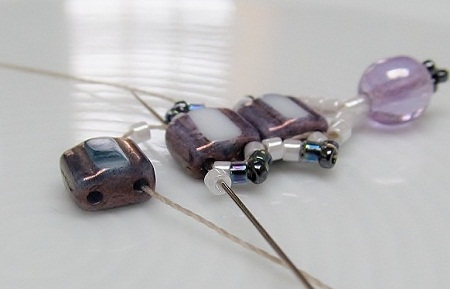
Art Deco bracelet, creating the clasp

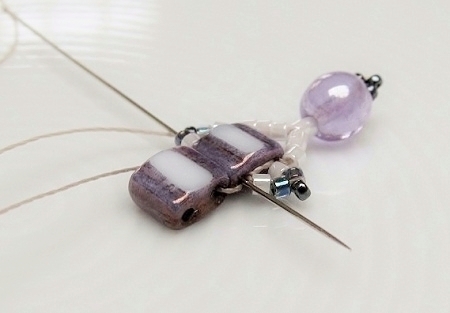
  • go back through the 6 mm round bead and the following two Delica's

Art Deco bracelet, clasp

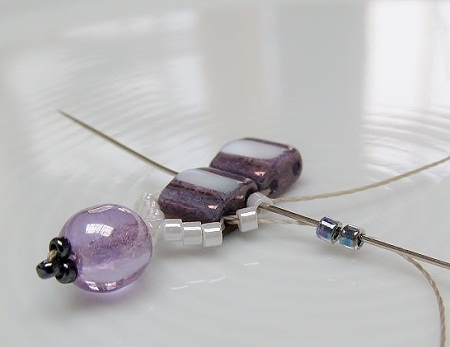
  • form the second leg of the clasp by adding three Delica's
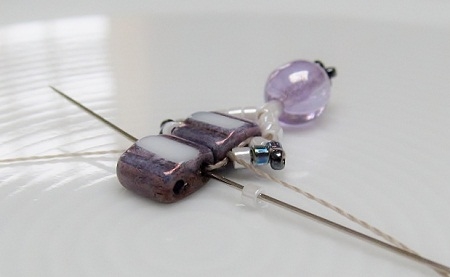
  • go through the hole on the other side of the “Silky” bead
  • reinforce the clasp by making a second pass through it
  • pass your needle through the other side of the same square bead

Art Deco bracelet - reinforce clasp

SEE - part 2

TIPS and TRICKS for NEWBIES – a skinny Silky bracelet, a touch of Art Deco - part 2

Creating the bracelet:

  • * 1st circle: add two Delica's in color 1 and pass your needle through the second hole of the same square bead
  • repeat on the other side

Art Deco Bracelet - 1st circle

  • 2nd circle: pass your needle through one of the Delica's in color 1 and add two Delica's in color 2
  • go through the second Delica in color 1 and the “Silky” bead
  • repeat on the other side

Art Deco bracelet - 2nd circle

  • 3rd circle: pass your needle through the Delica in color 1, the Delica in color 2 and add a seed bead 15/0
  • pass your needle through the Delica in color 2 and the Delica in color 1 and go through the square bead
  • repeat on the other side
  • with each pass you will reinforce the structure

Art Deco bracelet - 3rd circle

  • to prepare to move the next “Silky” bead, go through the Delica's in color 1 and color 2
  • pass through the square and exit immediately on the other side of the square**

Art Deco bracelet - move to 2nd square bead

  • add a Delica in color 1 and pass through the next “Silky” bead
  • add another Delica in color 1 and pass your needle through the previous square bead
  • you have formed a circle and secured the attachment of the two “Silky” beads

Art Deco bracelet - connecting square beads

  • pass your needle through the previously attached Delica in color 1 and go back through the square
  • repeat * till **
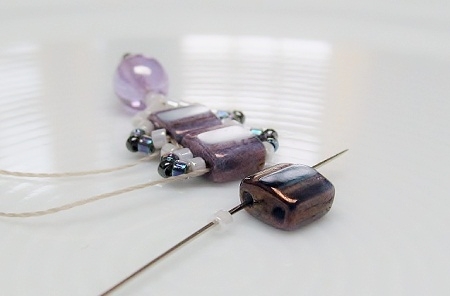
  • adding the third “Silky” bead or the next square :

  • ***pick up a Delica in color 1
  • in order to be sure you add the “Silky” in the right position, hold it next to the previous square
  • pass your needle through the “Silky” bead

Art Deco bracelet - adding square beads

  • add a Delica in color 1 and form a circle by going back through the previous square

Art Deco bracelet - circling back to attach square

  • pass your needle through the Delica in color 1 and go back through the square one more time***
  • repeat * till** to decorate each square bead
  • repeat *** till **** to add each new “Silky” bead
  • at the desired length create the loop of the clasp and reinforce it

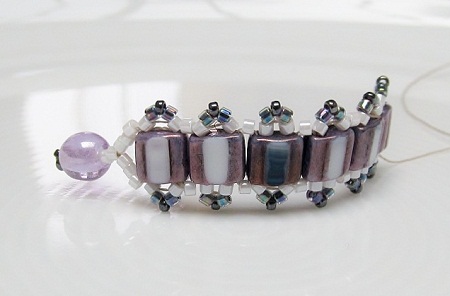
Skinny bracelet, a touch of Art Deco

Do not forget: have fun,see you soon!