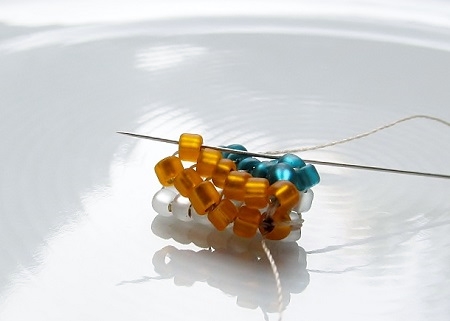
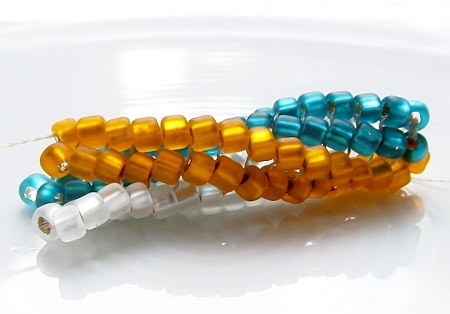
LEARN and CREATE – dance the twist again ... with the twisted tubular herringbone weave - part 1 Tuesday, 9 October 2018
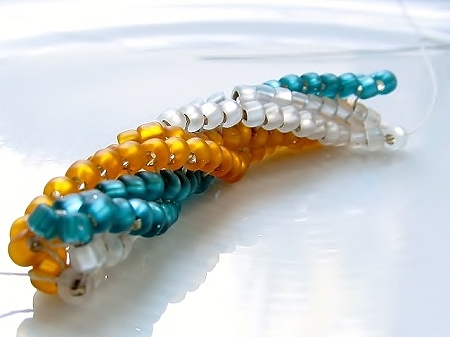
The twisted tubular herringbone is a variation of the regular http://dunebeads.com/en/learn-and-create-the-tubular-herringbone-weave-on-a-base-of-ladder-stitch-part-1. It is the result of an imbalance created by a difference in level, which makes the columns bend.
Challenge:
In the step-up you have to pay special attention to the number of levels you are working on.
Supplies for the twisted herringbone stitch:
- 8/0 beads or 3x3 mm fire-polished beads in 3 colors: color A, color B and color C
- needle, thread and scissors
- toggle and beading mat.
Weaving instructions for the twisted tubular herringbone stitch:
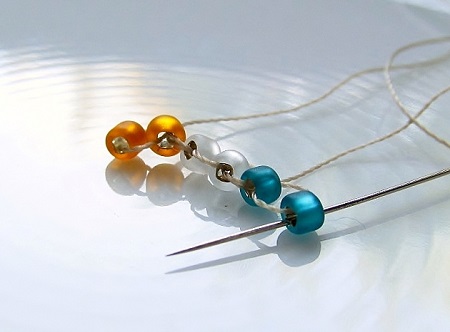
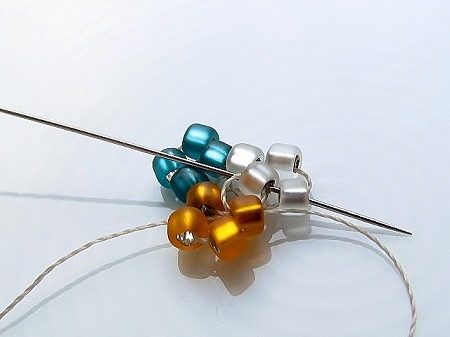
- to start, create a base in ladder stitch in the following colors: 2x color A, 2x color B and 2x color C
- if needed, you will find the instructions of the ladder stitch @ https://dunebeads.com/en/learn-and-create-the-flat-brick-stitch-on-a-foundation-of-ladder-stitch-part-1
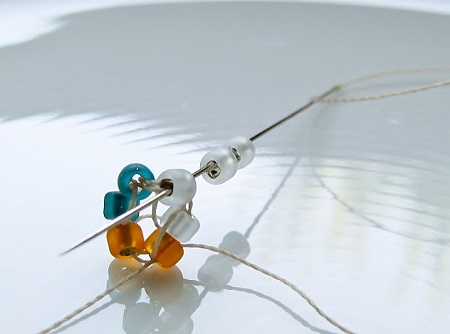
- connect both ends by going UP through the 1st bead and DOWN through the last bead to align the beads in parallel to each other and to close the circle
- foresee a +/- 15 cm tail tread
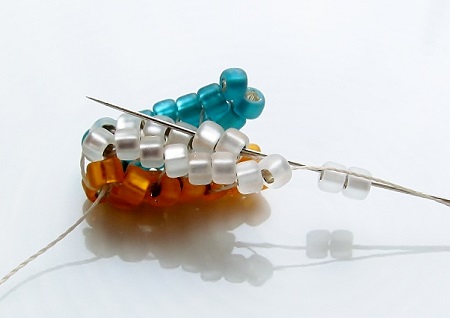
- the 2nd round is made in regular tubular herringbone, meaning go UP through the bottom of the 1st A bead to get in position
- pick up 2x color A and go DOWN through the top of the 2nd color A
- go UP through the bottom of the 1st color B
- pick up 2x color B and go DOWN through the top of the 2nd color B
- go UP through the bottom of the 1st color C
- pick up 2x color C and go DOWN through the top of the next bead in color C
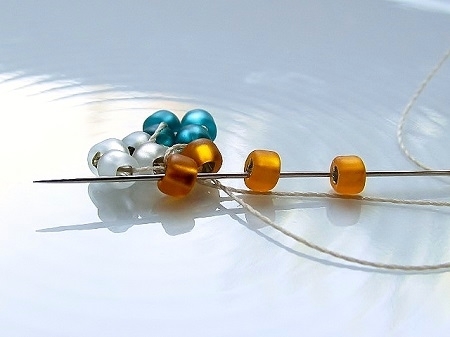
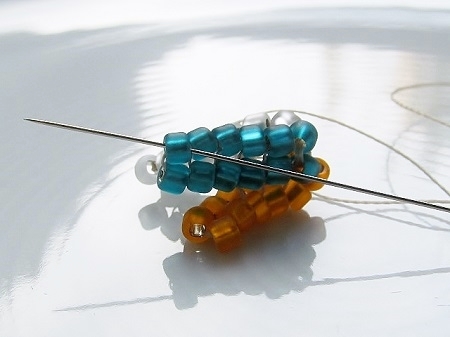
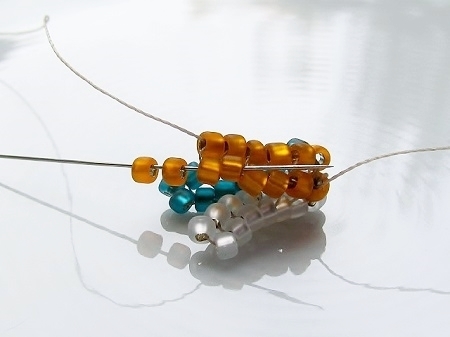
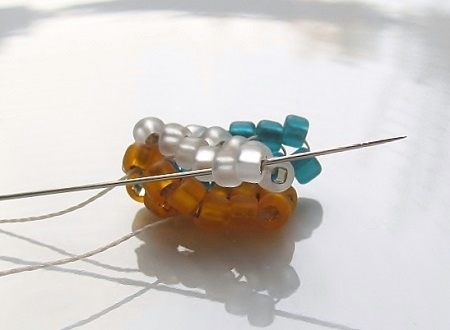
- in the third round starts the twisted weave: go UP through the 1st bead in color A of level 1 as well as the one of level 2
- pick up 2x color A and go two levels DOWN through the 2nd color A
- herein resides the difference between regular and twisted herringbone stitch
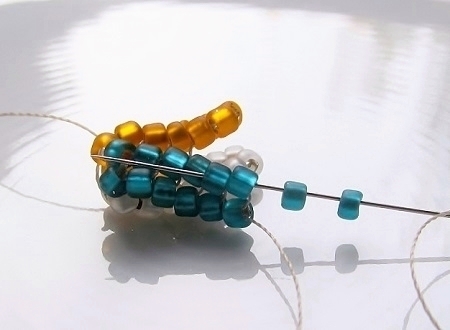
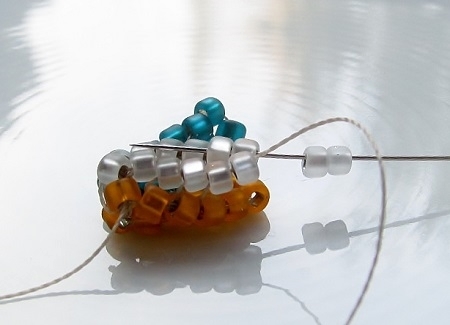
- go UP through the 1st color B on the top level
- note: you go only ONE bead up
SEE - part 2


