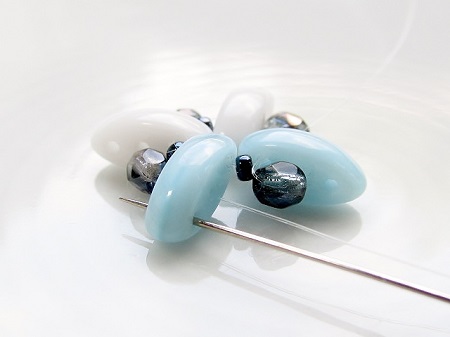
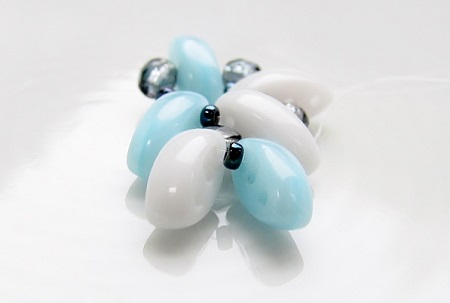
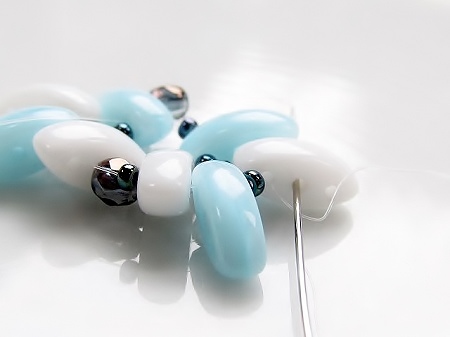
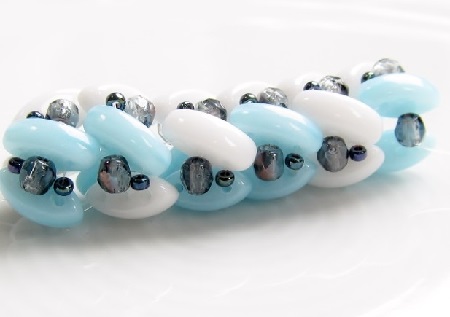
The herringbone stitch an old-timer? No way, the newer shaped beads, such as the Cali bead, can be perfectly integrated and offer a different and very modern look to the traditional herringbone stitch. The start may be a little challenging, but it will end up being an easy and quickly made project.
Challenge:
As you are working with different sizes, going from tiny to relatively big beads, you need to maintain a firm thread tension and keep the Cali beads straight.
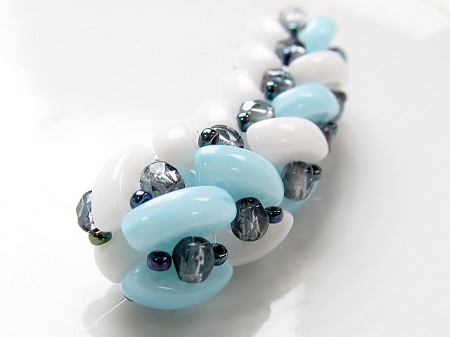
Supplies for the “Like no other” herringbone rope:
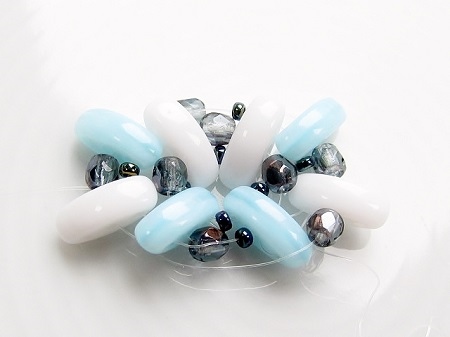
- 3x8 mm Czech Cali beads with three holes
- 15/0 Japanese Miyuki seed beads
- 3x3 mm faceted Czech beads for the intersection
- S-lon thread or polyethylene (fishing line), John James needles # 10 or #12
- scissors and a bead mat
Weaving instructions for the “Like no other” herringbone rope:
- check the holes of the beads before stringing them
- take a comfortable length of thread
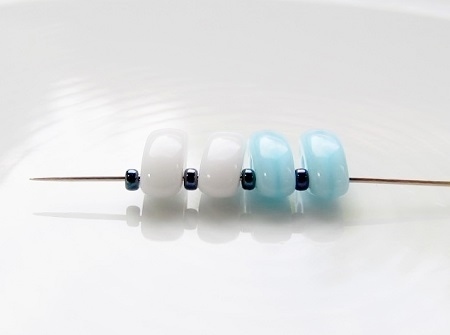
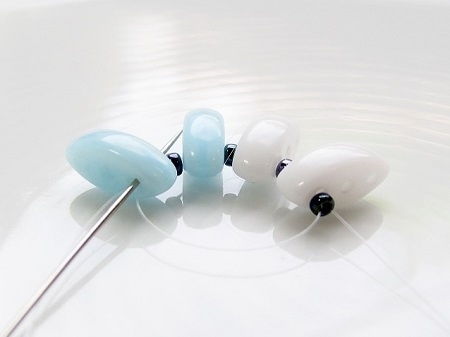
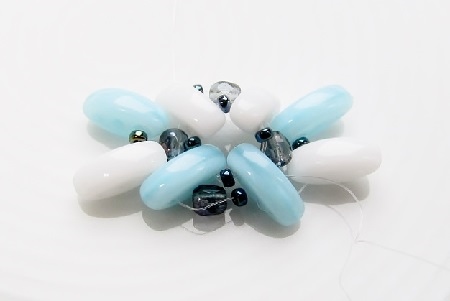
- first round: pick up one Cali, one 15/0 seed bead, one Cali, one 15/0 seed bead, one Cali, one 15/0 seed bead, one Cali, one 15/0 seed bead equaling a total of four Cali-seed bead sets
- keep a 20 cm tail thread, so you can add the clasp later on without problems
- to form a circular base, make a second pass through all the beads as well as the first Cali bead
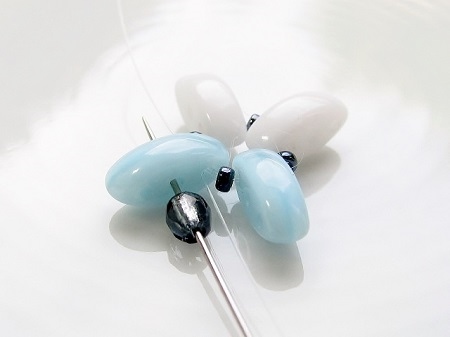
- second round: pick up a 3 mm bead and make a step-up by passing your needle through the second hole of the Cali you just exited, in other words make a U-turn
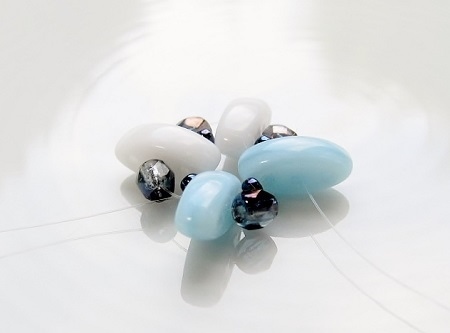
- pick up a 3 mm bead and pass the needle through the second hole of the next Cali, repeat two more times and tighten your thread
- note: while the 3 mm beads are maintaining the round shape, the Cali beads form strong V-lines. To work comfortably maintain the Cali beads nicely vertical.
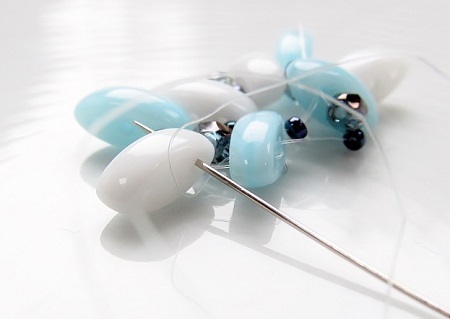
- third round: make a step-up by passing your needle through the third hole of the Cali you just exited, in other words make a U-turn
- pick up one Cali, one seed bead, one Cali and go with your needle through the next Cali bead
- pick up a seed bead and go through the next Cali
SEE - part 2


