CONTINUATION: flat herringbone weave
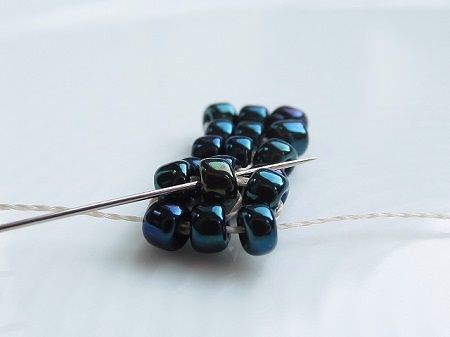
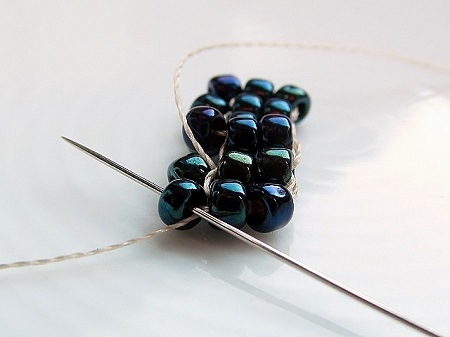
- *to get in position for the next round and all the other rounds, make a zig-zag movement:
- go UP through the bottom of the previous bead on the same level
- and go UP through the bottom of the end bead to end up at the top of the last bead
- this method is recommended if you create a wide bracelet or if you like a simple effect without embellishments, but it has the disadvantage of straightening the beads at the ends
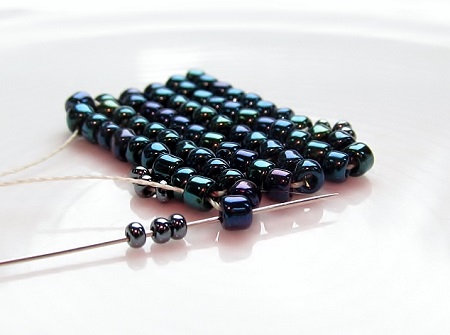
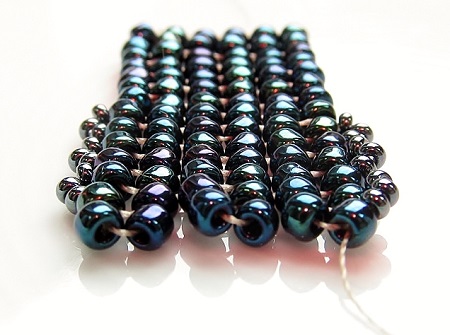
- there is another way which keeps the V-shape of the beads, but which makes use of ornamentation. You can access the next row from the outside by adding a few beads in a smaller size. For instance, if you work with size 8 beads you could add a scalloped edge with 2 or 3 beads in size 11.
- to start the following round : pick up 2 beads, go down 1 level through the 2nd bead and go up through the 3th one, pick up 2 beads and go down 1 level through the 4th bead, go up through the 5th bead, pick up 2 beads and go down 1 level through the last bead **
- note: you go up and down one bead at a time
- continue from* to** with the "end of row movement" of your choice till you reached the desired length
- you will find out that the top of each column seems to separate from the other columns as the beads are attached at the bottom in the previous round. Consequently and in order to finish your piece, you stitch in circular movement through the beads of the last two rows in order to create a look similar to the two base rows in ladder stitch.
- add a clasp and enjoy your bracelet
Tips:
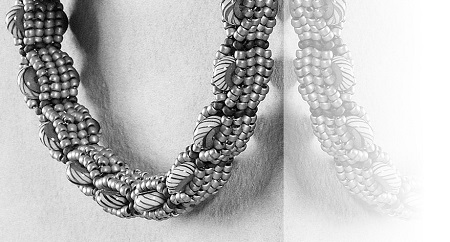
it is easy to integrate other stitches in between pieces of herringbone weave.
Thank you for choosing your beads and findings @ http://dunebeads.com/en/ !
Happy day, see you soon!


