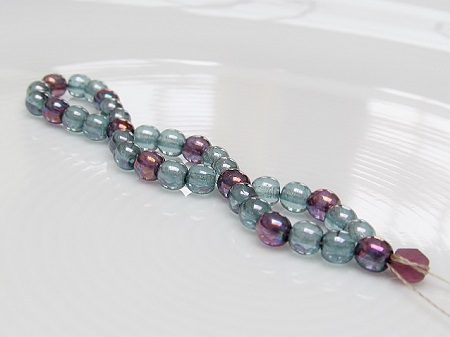
LEARN and CREATE – bangle bracelet in tubular even-count peyote stitch - part 1 Monday, 31 October 2016
You have learned all about even-count flat peyote and are ready to attack the tubular version. Of course, you could just make a flat strip and zip it up, but for a rope necklace we surely recommend to use the tubular peyote stitch.
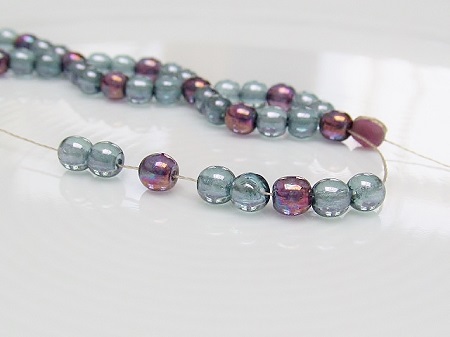
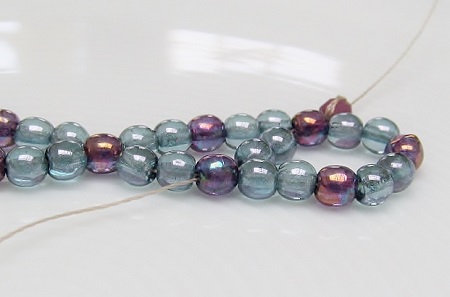
Contrary to flat peyote, where you use mainly tubular beads, type Delica's, this may as well be a seed bead as a Delica project.

Challenge:
Understanding the thread path and controlling the thread tension.
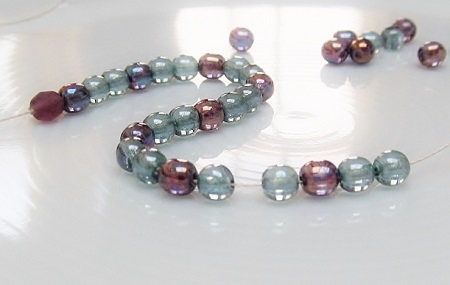
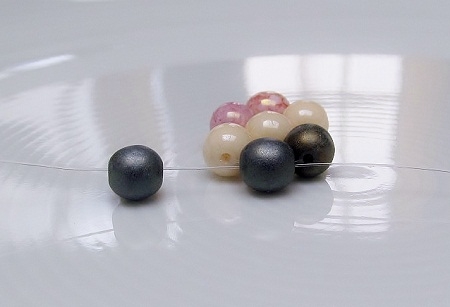
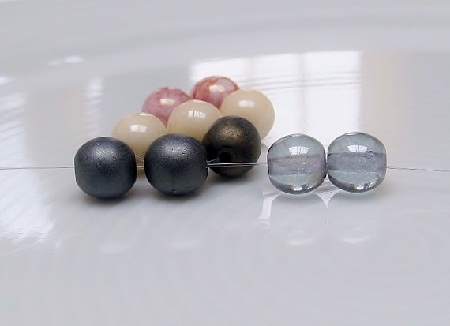
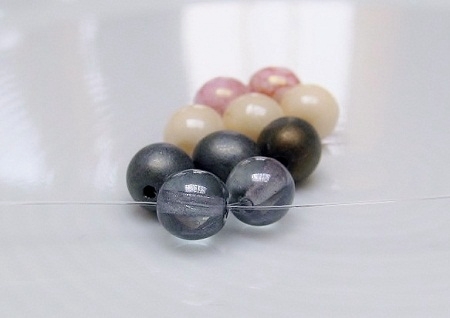
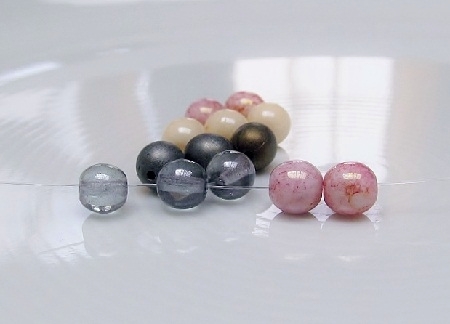
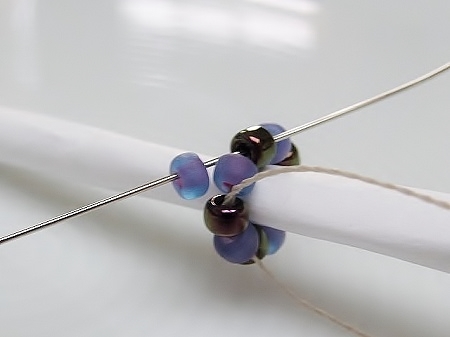
Supplies for the bangle bracelet in tubular peyote stitch:
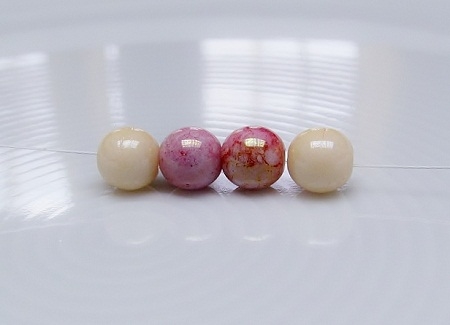
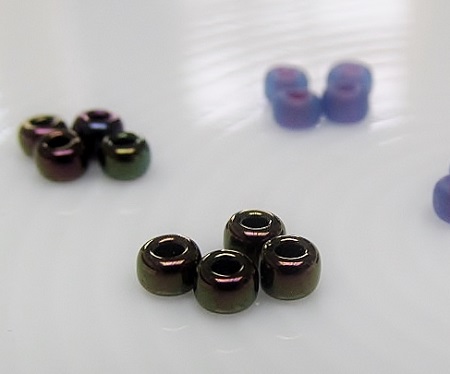
- Japanese seed beads size 8/0
- dowel or knitting needle or thick straw or a paper tube-shape
- thread, needle
- scissors and beading mat
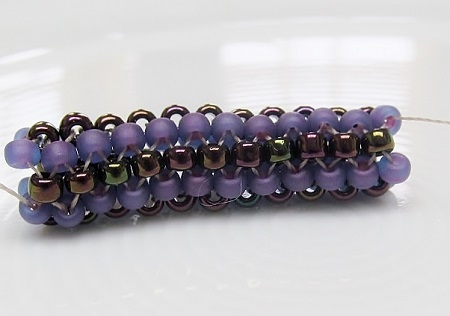
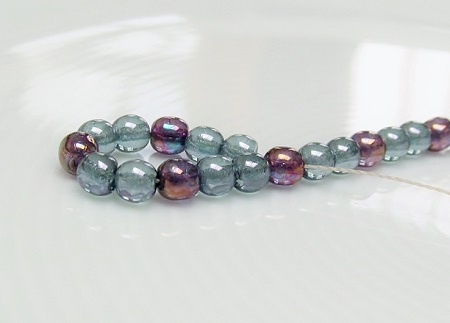
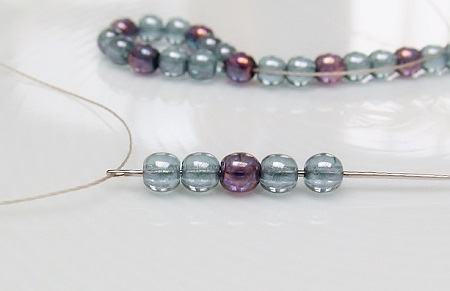
Weaving instructions for the tubular even-count peyote stitch:
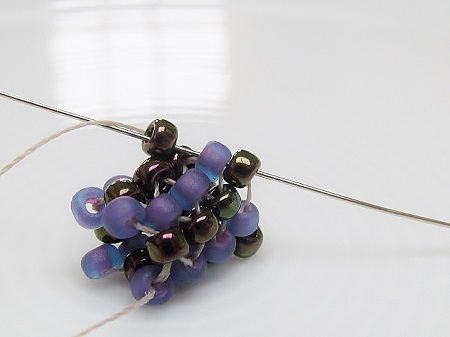
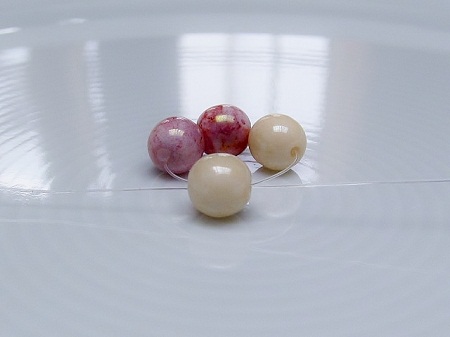
- to get yourself organized make little stacks of 4 beads
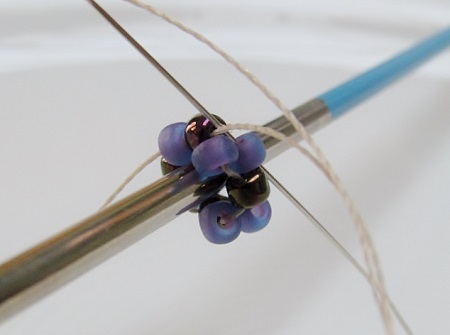
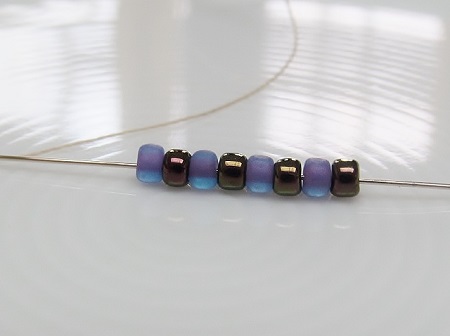
- take a length of thread and pick up 8 seed beads
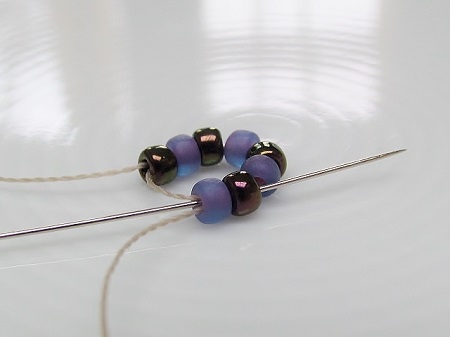
- to make a circle, stitch back through all the beads as well as two extra beads
- put the circle over the right size dowel in the sense that the beads are aligning nicely
- block the tail of your thread on the dowel with your fingers
- to create the first row: *pick up a new bead, skip a bead and go through the next bead**
SEE - part 2