RSS

Blog

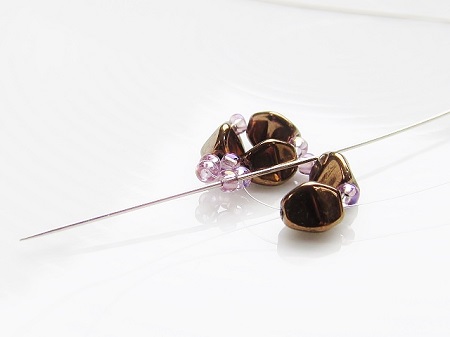
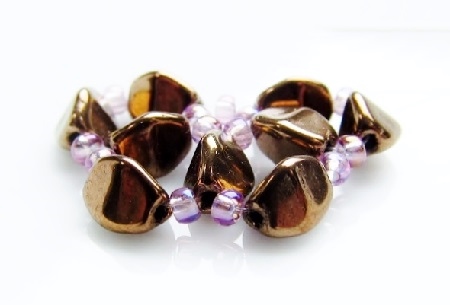
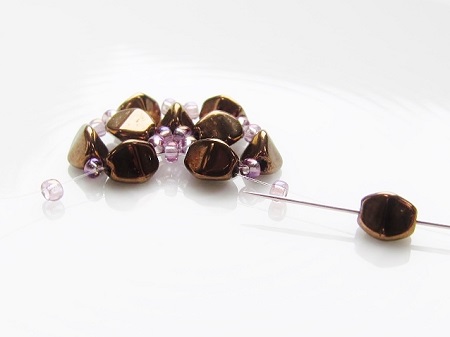
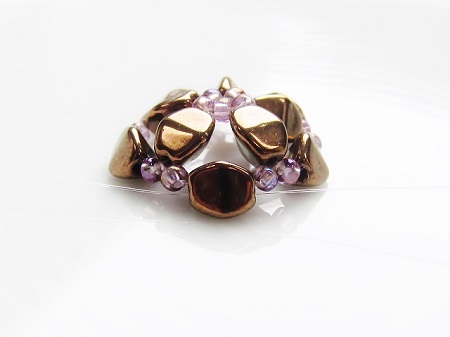
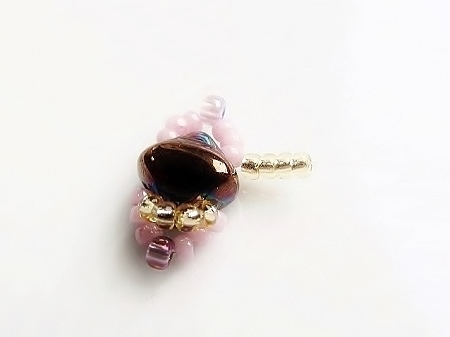
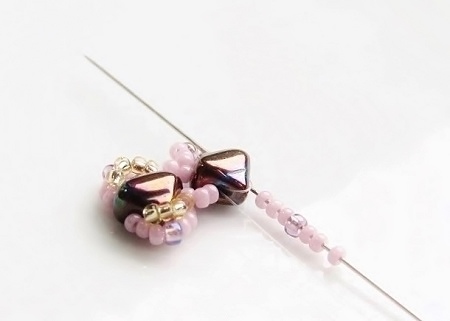
LEARN and CREATE – the “Stylized flower” beaded bead - part 1

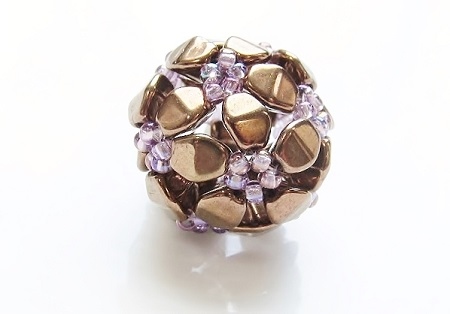
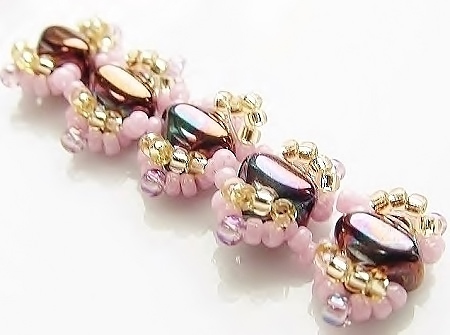
As you are now familiar with the technique of crossing threads, let's go one step further with this over-sized beaded bead. You can use this "Stylized Flower" bead as a pendant or make several, and integrate them into a necklace.
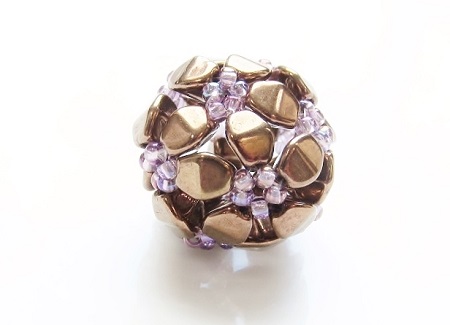
Stylized flower with Pinch bead

Challenge:

Consistently alternate the working thread when crossing the threads and controlling the thread path.

Supplies for the “Stylized Flower” beaded bead:

  • 5x3 mm Czech Pinch beads
  • 11/0 Czech seed beads
  • a central bead to stabilize the shape
  • S-lon thread or polyethylene (fishing line), two needles, scissors and a bead mat

Weaving instructions for the “Stylized Flower” beaded bead:

  • take into account that you start in the middle of the thread and opt for twice the regular length

First round:

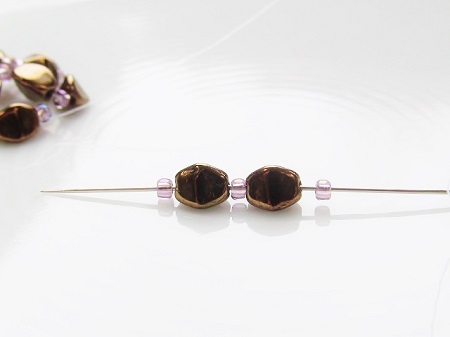
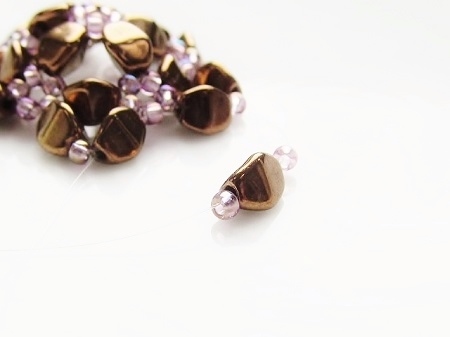
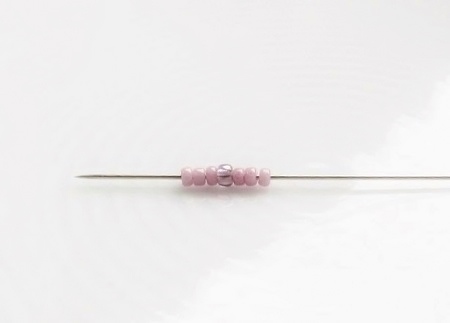
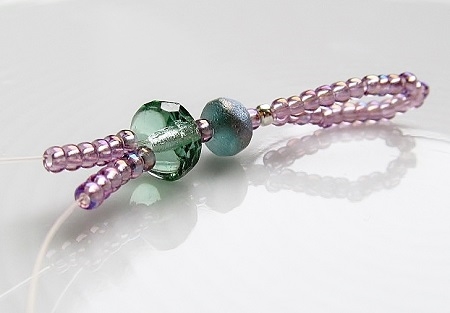
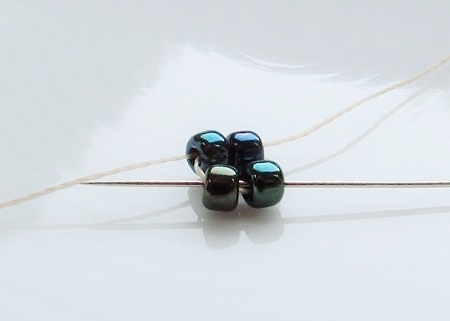
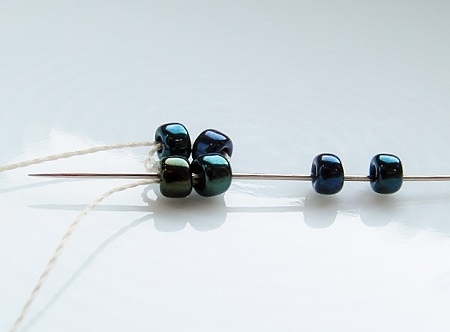
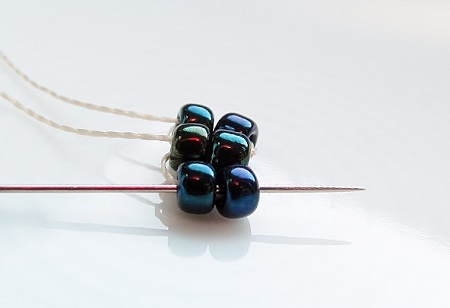
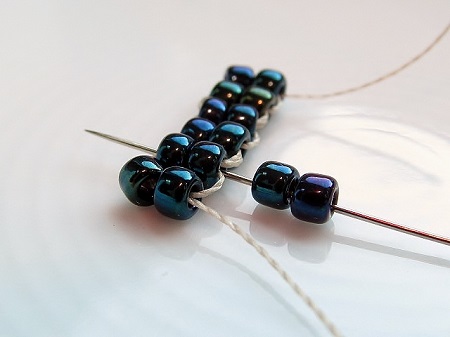
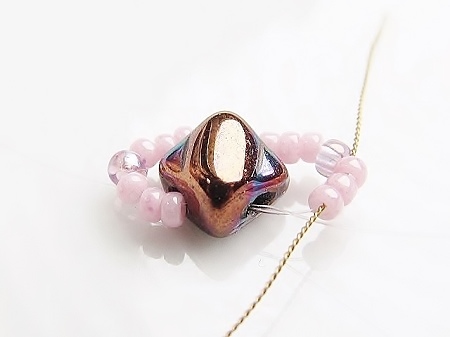
  • start creating the central daisy part in the middle of the thread: pick up 5 seed beads and form a circle by going back through the first bead you picked up
  • keep the central daisy in mind as you are circling around it

Stylized flower, beaded bead - round 1, first central part

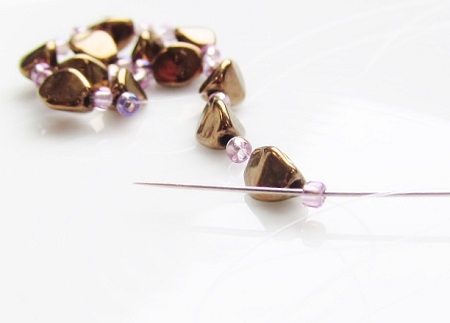
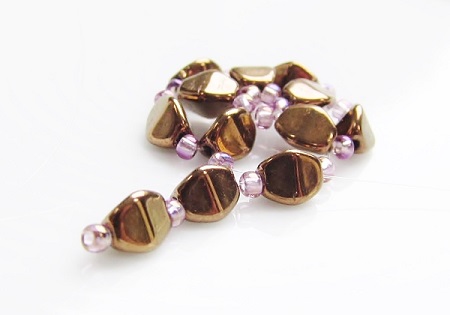
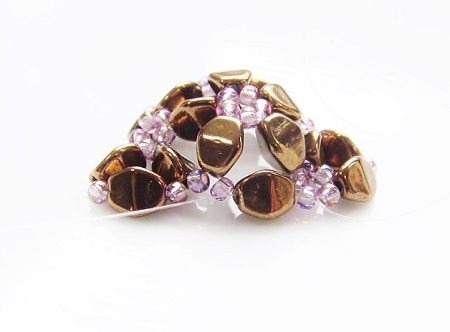
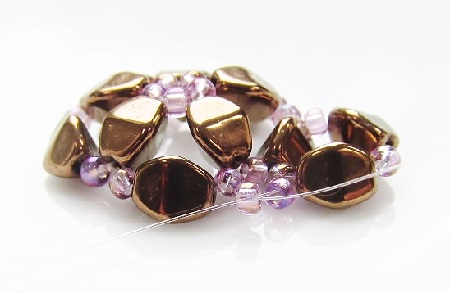
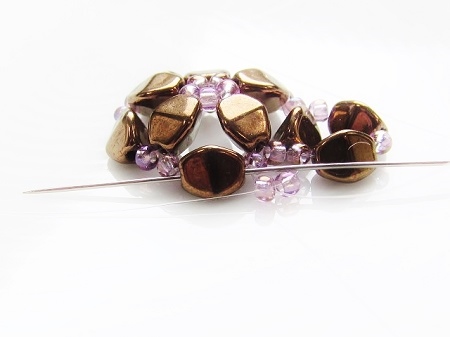
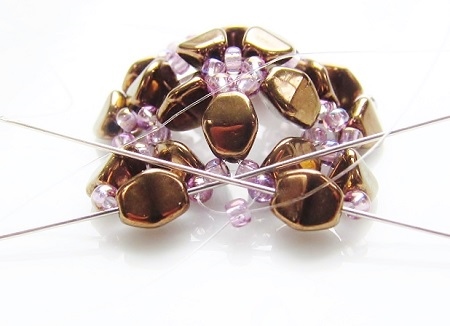
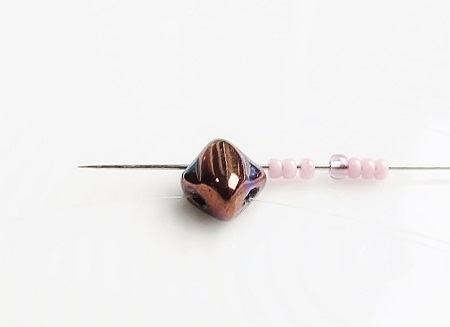
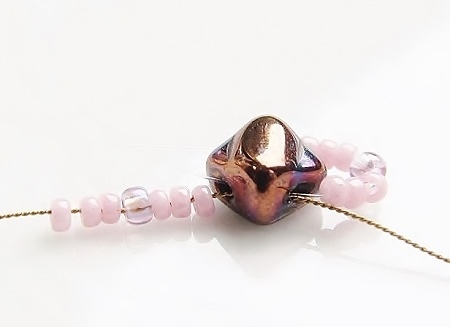
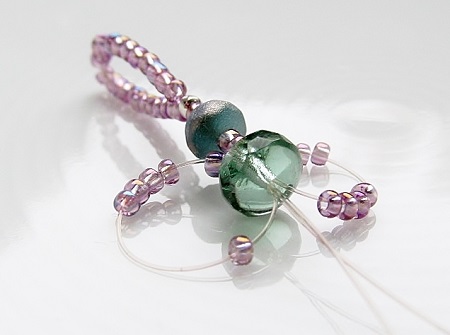
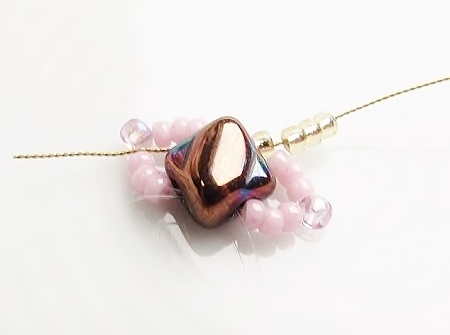
  • with the right thread pick up a Pinch bead, a seed bead, a Pinch bead, a seed bead, a Pinch bead

Stylized flower, beaded bead - round 1, creating a leaf

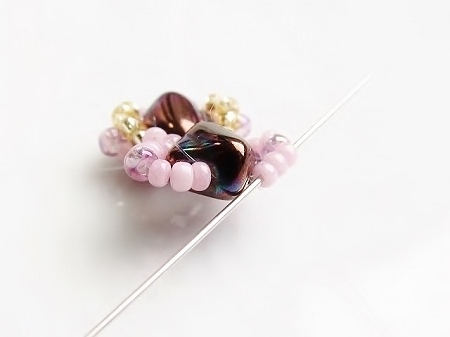
  • and go with your left thread through the last Pinch bead to cross the threads

Stylized flower, beaded bead - round 1, crossing threads to attach leaf

  • as a consequence, one thread ends at the top, while the other thread ends at the bottom of the central daisy
  • go with the left thread through the next seed bead of the central daisy part
  • with the thread at the top pick up a seed bead, a Pinch bead, a seed bead, a Pinch bead

Stylized flower, beaded bead - round 1,  adding second leaf

  • pass the other thread through the last Pinch bead to cross the threads and to finish at the top of the daisy
  • pass the left thread through the next seed bead of the central daisy part
  • with the top thread pick up a seed bead, a Pinch bead, a seed bead, a Pinch bead and pass the other thread through the last Pinch bead to cross the threads

Stylized flower, beaded bead - round 1, crossing threads to add leaf 2

  • pass the left thread through the next seed bead of your central daisy part

Stylized flower, beaded bead - round 1, moving to next leaf

  • with the top thread pick up a seed bead, a Pinch bead, a seed bead, a Pinch bead
  • pass the other thread through the last Pinch bead to cross the threads

SEE - part 2

LEARN and CREATE – the “Stylized flower” beaded bead - part 2

CONTINUATION: the "Stylized flower"

  • pass the left thread through the next and last seed bead of the central daisy part and go up through the first Pinch bead, this is the one you picked up at the beginning
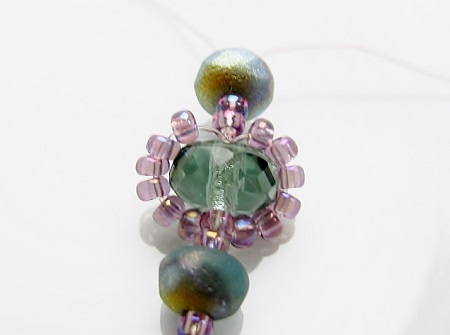
  • if you have a closer look at the petals, you will see that there are two seed beads at the top of each petal

Stylized flower, beaded bead - round 1, 2 seed beads at the top between leaves

  • as a consequence and to finish the first round you need to pick up one seed bead with each thread as well as a single Pinch bead on one side

Stylized flower, beaded bead - round 1, add 2 seed beads and 1 Pinch bead

  • cross the threads through the single Pinch bead to finish the first round

Stylized flower, beaded bead - round 1, crossing threads in Pinch bead, leaf 5

Second round: in this round you create five new daisy centers

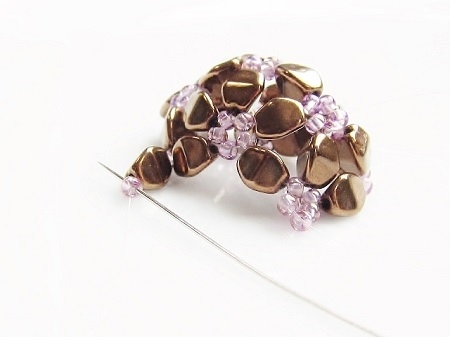
  • with the left thread pick up a seed bead, a Pinch bead, a seed bead, a Pinch bead and another seed bead

Stylized flower, beaded bead - round 2, start

  • cross the threads through the last seed bead

Stylized flower, beaded bead - round 2, cross thru seed bead

  • pass the right thread through the next two seed beads

Stylized flower, beaded bead - round 2, pass thru next 2 seed beads

  • as a consequence you have three seed beads, one sitting after the other
  • with the left thread pick up two seed beads and cross the threads through the last seed bead to create a new central daisy of five beads

Stylized flower, beaded bead - round 2, add 2 seed beads to center

  • to move to the next daisy center pass the right thread through the next Pinch bead
  • with the left thread pick up a Pinch bead, a seed bead, a Pinch bead, a seed bead and cross the threads through the last seed bead
  • pass the right thread through the next two seed beads
  • to complete the center of the daisy, pick up two more seed beads with your left thread and cross the threads in the last seed bead
  • to move to the next daisy center pass the right thread through the next Pinch bead
  • with your left thread (the one still coming out of the last daisy center) and to bridge the gap to your next daisy center, pick up Pinch bead, a seed bead, a Pinch bead, a seed bead and cross the threads through the last seed bead
  • pass your right thread through the next two seed beads
  • pick up two seed beads with your left thread and cross the threads once again through the last seed bead
  • to move to the next daisy center pass the right thread through the next Pinch bead

SEE - part 3

LEARN and CREATE – the “Stylized flower” beaded bead - part 3

CONTINUATION: the "Stylized flower"

  • with your left thread pick up a Pinch bead, a seed bead, a Pinch bead, a seed bead and cross the threads through the last seed bead

Stylized flower, beaded bead - round 2, move to next daisy center

Stylized flower, beaded bead - round 2, needs 2 more seed beads

  • pass your right thread through the next two seed beads
  • pick up two seed beads with your left thread and cross the threads once again through the last seed bead

Stylized flower, beaded bead - round 2, complete daisy center

  • to move to the next daisy you pass your right thread through the next Pinch bead

Stylized flower, beaded bead - round 2, pass thru Pinch bead

  • note: of the set of five daisy centers of the second round, the last central part has already three seed beads in place instead of two seed beads
  • with your left thread pick up a Pinch bead, a seed bead, a Pinch bead, a seed bead and cross the threads through the last seed bead
  • pass your right thread through the next three seed beads
  • note: to complete the daisy center you are missing only one seed bead
  • with the left thread pick up one seed beads and cross the threads once again through this last seed bead
  • to finalize the second round you need a step-up: pass each thread through its respective Pinch bead

Stylized flower, beaded bead - round 2, up thru both Pinch beads

  • with the left thread pick up a seed bead, a Pinch bead, a seed bead and cross the threads through the last seed bead

Stylized flower, beaded bead - round 2, finish

Third round:

  • pass your right thread through the next seed bead

Stylized flower beaded bead - round 3, start

  • pick up three seed beads with your left thread and cross the threads through the last seed bead to create a new daisy center
  • at this point we slowly start to close up the bead
  • to move to the next daisy center pass your right thread down through the next Pinch bead, the next seed bead and up through the next Pinch bead
  • with the left thread – the one on the side of your last daisy center - pick up a Pinch bead, a seed bead and cross the threads in the seed bead
  • pass your right thread through the adjoining seed bead
  • pick up three seed beads with your left thread and cross the threads in the last seed bead
  • to move to the next daisy center you pass your right thread down through the next Pinch bead and the next seed bead and up through the next Pinch bead
  • pick up a Pinch bead and a seed bead with the left thread and cross the threads in the last seed bead
  • pass the right thread through the next seed bead

 SEE - part 4

LEARN and CREATE – the “Stylized Flower” beaded bead - part 4

CONTINUATION: the "Stylized Flower"

  • to complete the next daisy center pick up three seed beads with your left thread and cross the threads in the last seed bead
  • to move to the next daisy center you pass your right thread down through the next Pinch bead and the next seed bead and up through the next Pinch bead
  • pick up a Pinch bead and a seed bead with your left thread and cross the threads in the last seed bead
  • pass the right thread through the next seed bead
  • pick up three seed beads with the left thread and cross the threads in the last seed bead
  • pass your right thread down through the next Pinch bead and the next seed bead and up through the next Pinch bead
  • pick up a Pinch bead and a seed bead with your left thread and cross the threads in the last seed bead
  • pass the right thread through the next two seed beads
  • complete the five petals of the last daisy center with two seed beads and cross the threads in the last seed bead

fourth and final round: complete the five petals of each daisy center

  • pass the thread through the next Pinch bead and the next seed bead
  • pick up a Pinch bead, a seed bead, a Pinch bead with the left thread and cross the threads in the last Pinch bead
  • pass your right thread through the next seed bead, the next Pinch bead, the next seed bead
  • pick up a seed bead and a Pinch bead with your left thread and cross the threads in the Pinch bead
  • once again pass your right thread through the next seed bead, the next Pinch bead and the next seed bead
  • pick up a seed bead and a Pinch bead with your left thread and cross the threads in the Pinch bead
  • pass your right thread through the next seed bead, the next Pinch bead, the next seed bead
  • pick up a seed bead and a Pinch bead with your left thread and cross the threads in the Pinch bead
  • pass your right thread through the next seed bead, the next Pinch bead, the next seed bead, the next Pinch bead
  • before closing up the beaded bead insert a glass bead of about 12 mm to give the form more stability
  • to finish you will find out that the last daisy center has only 4 seed beads
  • therefore, pick up one last seed bead and cross the threads once again to finish the daisy center
  • make several passes through the thread path to reinforce the bead, make a few knots and cut off the thread
  • enjoy your creation !

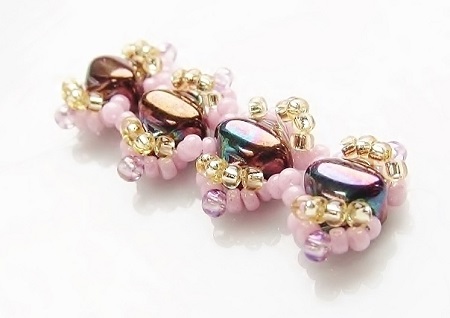
Stylized flower, beaded bead - mini

Thank you for choosing your beads and findings @ https://dunebeads.com/en/shop !

Happy day, see you soon!

LEARN and CREATE – Moonlight at Dawn, a mini Silky bracelet - part 1

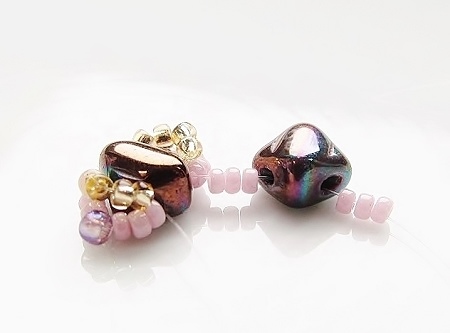
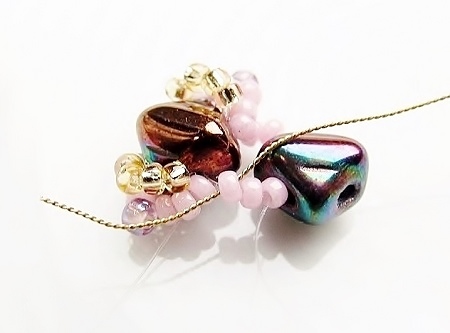
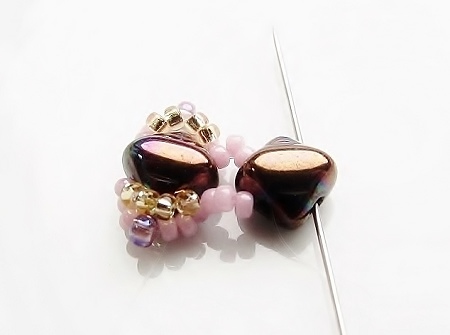
Nothing sleek about this design, this highly decorated bracelet invites you to party in the moonlight from dusk to dawn. Weave an endless feast between shimmer and glitter, between mini Silky beads and seed beads in this bracelet to enjoy the “Moonlight at Dawn”.

Moonlight at Dawn bracelet - mini Silky beads

Challenge:

Consistently working in a circle around the Silky bead and between two Silky beads while controlling the thread of each pass.

Supplies for the “Moonlight at Dawn” bracelet:

  • 5x5 mm mini Silky beads
  • 15/0 Japanese seed beads
  • 11/0 Czech seed beads
  • toggle clasp
  • 0,14 mm polyethylene thread (fishing line), size 10 John James needle, scissors and beading mat.

Weaving instructions for the “Moonlight at Dawn” bracelet:

  • check the holes of the pressed beads in order to work unhindered
  • cut off a good length of thread so you can make the bracelet in one go
  • note: the raised middle section of the Silky bead is horizontal and always on the decorated side; your needle works vertically and always through both holes at the same time - keep this in mind when adding more beads

Moonlight at Dawn - starting

  • pass your needle through both holes on the right side

Moonlight at Dawn - first set of seed beads

  • work on the left side, which will be one of the ends of the bracelet: pick up 3x 15/0 seed bead, 1x 11/0 seed bead, 3x 15/0 seed bead

Moonlight at Dawn - add first set of seed beads

  • pass the needle through the two holes of the Silky
  • make sure to leave a tail thread of about 15 to 20 cm permitting you to add the toggle clasp later on

Moonlight at Dawn - add seed beads on the other side

  • on the right side again: pick up 3x 15/0 seed bead, 1x 11/0 seed bead and 3x 15/0 seed bead, pass the needle through both holes of the Silky
  • note: you have worked in a cercle
  • tip: wind the tail thread around your fingers so you can control the thread tension

Moonlight at Dawn - second pass

  • make a second round by going back through all the 15/0 seed beads – skipping the 11/0 – and through both holes of the Silky – repeat on the other side
  • tighten the thread in order to get the peak of your triangular form in place
  • you end on the same side of the tail thread, but in the top hole

Moonlight at Dawn - triangular decoration

  • to complete the triangular decoration: pick up 4x 15/0 seed bead, pass over to the other side of the Silky bead and go with your needle through both holes

Moonlight at Dawn - triangular decoration side 2

  • repeat: pick up 4x 15/0 seed bead

SEE - part 2
LEARN and CREATE – Moonlight at Dawn, a mini Silky bracelet - part 2
CONTINUATION - mini Silky bracelet Moonlight at Dawn

  • pass over to the opposite side of the Silky and go through both holes of the Silky

Moonlight at Dawn - connecting 2 Silky beads

  • create a connecting part to add the next Silky bead: pick up 3x 15/0 seed bead, go through the top of the new Silky bead with the raised section towards you, pick up 3x 15/0 seed bead and go up through the bottom of the previous Silky bead

Moonlight at Dawn - second pass through connecting part

  • circle back through the first and third 15/0 seed bead – skipping the middle bead – go down through the new Silky, through the first and third 15/0 seed bead and up through the previous Silky bead
  • tighten the thread in order to get the peak of your triangular forms in place

Moonlight at Dawn - getting to start point of decoration

  • to get in place on the outside of the newly added Silky, pass your needle one more time through the top beads of the attachment, down through the Silky, cross over to the outside and go up through both holes
  • note: you work from the right side towards the left side with the needle and your thread stays visible for now

Moonlight at Dawn - adding second set of seed beads

  • *pick up 3x 15/0 seed bead, 1x 11/0 seed bead and 3x 15/0 seed bead, pass the needle down through both holes on the left side of the Silky bead and repeat on the other side

Moonlight at Dawn - 2nd pass

  • circle back through the 15/0 seed beads and the Silky, repeat on the other side
  • pick up 4x 15/0 seed bead, cross the Silky bead and pass your needle down the Silky to create a base for the triangular shape – repeat on the other side to end at the top of the outside
  • create the connecting segment: pick up 3x 15/0 seed bead, a new Silky bead with the raised section towards you, 3x 15/0 seed bead and go up
  • through the bottom of the previous Silky bead
  • circle back through the first and third 15/0 seed bead – skipping the middle bead – go down through the new Silky, through the first and third 15/0 seed bead and up through the previous Silky bead
  • tighten the thread in order to get the peak of your triangular forms in place
  • to get in place on the outside of the newly added Silky, pass your needle one more time through the top beads of the attachment, down through the Silky, cross over to the outside and go up through both holes**
  • continue from * to ** till you have reached the desired length
  • add your toggle clasp with a little loop
  • and enjoy … happy beading !

Moonlight at Dawn - mini Silky and seed beads

Thank you for choosing your beads and findings @ https://dunebeads.com/en/shop !

Happy day, see you soon!

The year ahead in color: go for a golden spring and summer 2019

Wishing you … a rainbow … of wishes that come true !

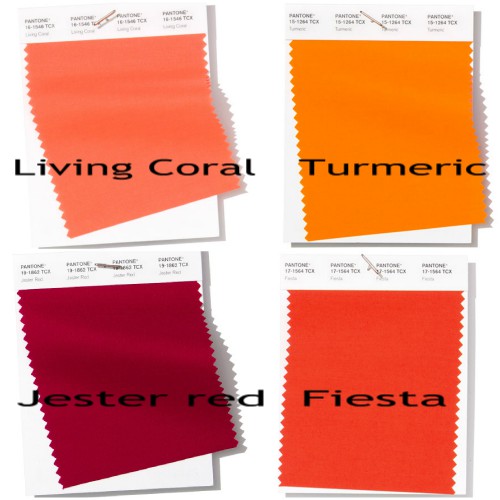
2019 announces itself as happy and cheerful with Pantone proclaiming “Living Coral” as the color of the year.

It is one of the four core colors going:

  • from “Living Coral”, a golden peachy pink
  • “Turmeric”, a vibrant yellow orange
  • “Fiesta”, an orange red
  • to “Jester Red”, a deep burgundy red, which also suit a more classic style.

So do not only think not of … coral ... but also of Sunstone, peachy moonstone, peachy red Aventurine, Carnelian, white lace red jasper, red petrified wood, red imperial jasper and so on. All orange-red tones will mix well with coppery and golden metals to create that joyful fashion statement.

Pantone 2019 - core colors

The rest of the palette consists of:

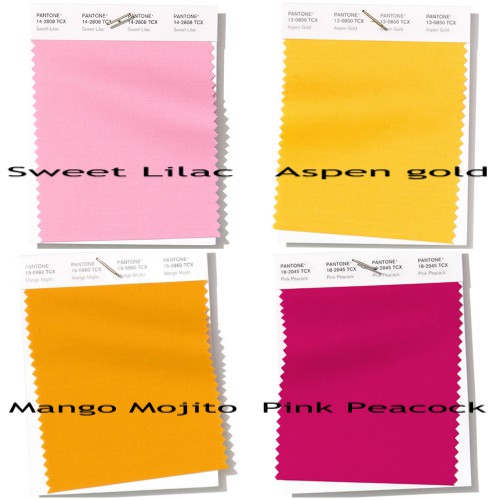
  • two extra pink tones: a cotton candy pink “Sweet Lilac” and a vibrant Mexican pink called “Pink Peacock”
  • two warm yellows and one brown tone: a canary yellow “Aspen Gold”, a primary yellow “Mango Mojito” and a caramel color “Toffee”
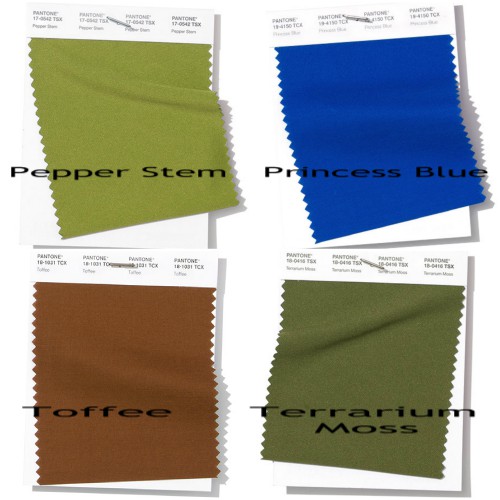
  • two yellow-green tones: “Pepper Stem”, being a moss green and “Terrarium Moss”, the deeper toned-down hue
  • and one blue tone: “Princess Blue”, a bright royal blue or azure.

Pantone 2019 in pink and gold

Pantone 2019 - green, blue, brown

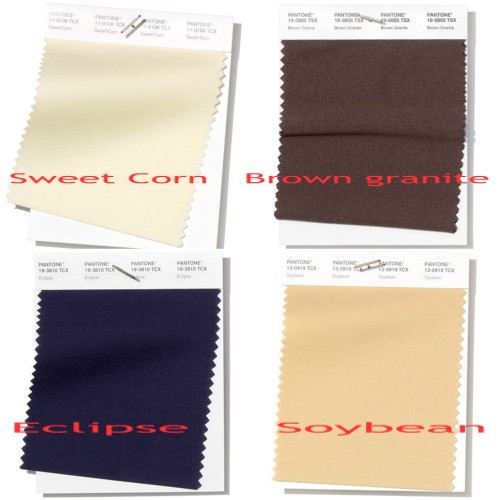
For a classic look Pantone suggests mixing them with:

  • “Eclipse”, a deep midnight blue
  • “Soybean”, a medium beige
  • “Sweet Corn”, a subtle creamy white
  • or “Brown Granite”, a saturated coffee brown.

Pantone 2019 - classic

Whether you choose for a bold or a subtle creation … may your year be cheerful with https://dunebeads.com/en/shop ... enjoy !

LEARN and CREATE – “dancing through hoops” bracelet - part 1

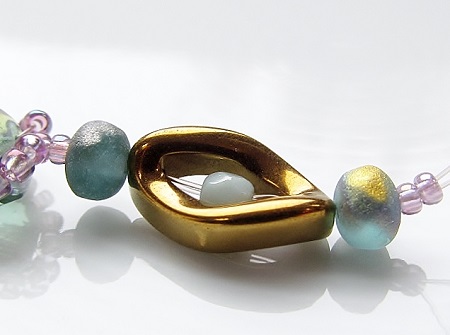
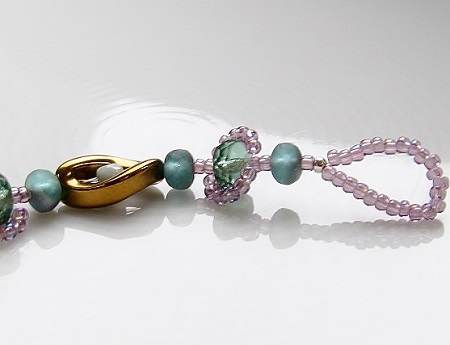
This elegant, dainty stringing project is all about playful loops and can without doubt become a stunning necklace too. Play with colors and amaze the world with your creativity.

dancing through loops - one unit

Challenge:

Arm yourself with patience and make sure that both threads stay parallel and do not cross each other, otherwise the loops around the rondelle beads will collapse into each other.

Supplies for the “dancing through hoops” bracelet:

  • 11/0 seed beads
  • 3x5 mm Czech faceted rondelle beads
  • 4x7 mm Czech faceted rondelle beads
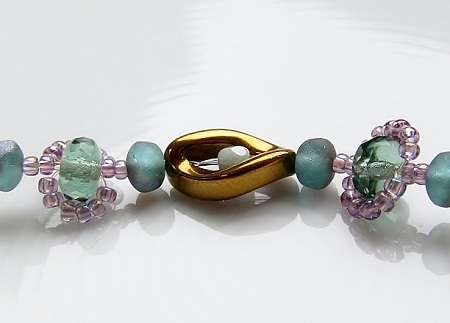
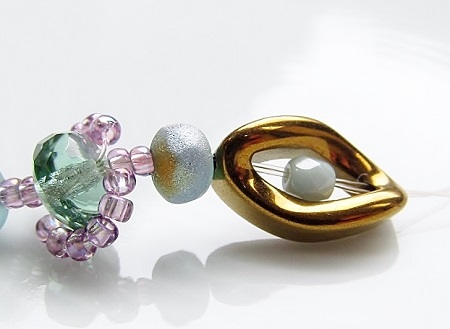
  • 8x13 mm hematite gemstone loop beads in twisted rhombus shape
  • 3x3 mm Czech faceted round beads – optional -
  • polyethylene thread or fishing thread or FireLine
  • crimp beads or crimp tubes
  • button for the clasp
  • pliers, scissors and beading mat.

Stringing instructions for the “dancing through hoops” bracelet:

  • cut off about 70 cm polyethylene thread
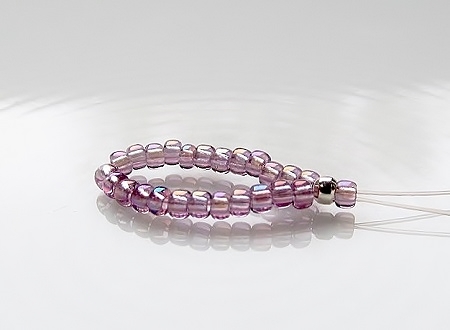
  • to create a loop big enough for the button: for a 12 mm button that means about 24 seed beads and for a 14 mm button, that will be about 28 seed beads
  • pick up the seed beads for the loop, push them till the middle and fold the thread
  • string both ends of the thread through a crimp tube and check if the threads are parallel before crimping it
  • pick up one seed bead with both threads to give extra mobility to your bracelet

dancing through loops - clasp loop

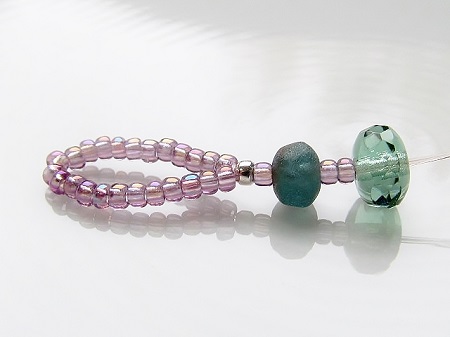
  • * with both threads: pick up one 3x5 mm bead, two seed beads and one 4x7 mm bead
  • check if the threads are still parallel

dancing through loops - first part of section

  • with one thread: pick up six to seven seed beads and string in a loop through the 4x7 mm bead – repeat with the other thread -

dancing through loops - start loop first part of section

dancing through loops - loop first part of section

  • with both threads: pick up two seed beads and one 3x5 mm bead

dancing through loops - finish first part of section

  • continue with both threads and string one 8x13 mm loop bead
  • optional: if you want a central accent in the loop bead, pass one of the threads through the first hole, then through the 3 mm round bead and finally through the second hole of the loop bead – tighten the thread with the hand to one side and pass the second thread through in one go

dancing through loops - add hematite loop bead

  • check if the threads are still parallel **

SEE - PART 2

LEARN and CREATE – “dancing through hoops” bracelet - part 2
CONTINUATION: "dancing through hoops" bracelet

 dancing through loops - start third part of section

  • continue from * until ** and finish with a loop bead followed by one seed bead
  • to add the button: with both threads, pick up a crimp bead and a button and pass them back through the crimp bead
  • check a last time if the threads are parallel and control the thread tension in order to assure the supples of the bracelet
  • crimp the crimp bead and cut off the excess thread
  • enjoy!

Thank you for choosing your beads and findings @ http://dunebeads.com/en/ !

Happy day, see you soon!

LEARN and CREATE – the flat herringbone weave made easy - part 1

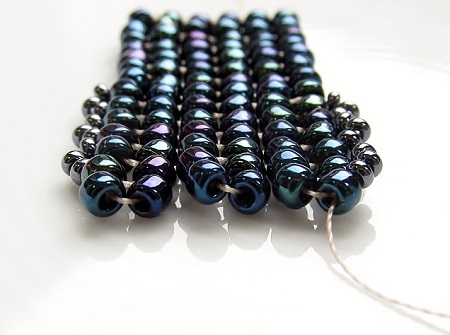
This bracelet in flat herringbone stitch is quickly learned and results in a supple band with columns in a fish bone pattern. As a consequence, it is a perfect stitch for both slender and large bracelets.

flat herringbone weave made easy

Challenge:
Arrange the beads of each layer in a zigzag or chevron pattern, so you can easily stack the next round on it.

Supplies for the flat herringbone weave:

  • 8/0 seed beads (and optionally, 11/0 seed beads)
  • needle, thread and scissors
  • clasp and beading mat.

Weaving instructions for the flat herringbone stitch:

  • as you will always add 2 beads at the same time and work with an even number of beads, it is wise to start the base in a 2-bead ladder stitch
  • consequently, start with a base in ladder stitch of 2 beads wide and 6 beads long:
  • pick up 4 beads, circle back through the 2 first beads at the tail end

flat herringbone - 2-bead ladder stitch - start

  • to get in position and to add beads, pass the needle through the last set of beads to go to the outer edge

flat herringbone - 2-bead ladder stitch - getting in position to add 2 beads

  • pick up 2 beads and go through the previous set of beads

flat herringbone - 2-bead ladder stitch - adding 2 beads

  • circle back through the set of beads you just added

flat herringbone - 2-bead ladder stitch - getting in position

  • to start the herringbone stitch and the 3rd round:
  • pick up 2 beads and go down 2 levels through the 2nd bead

flat herringbone - 3rd row - start

  • go up 2 levels through the 3th one

flat herringbone - 3th round - getting in position to add beads

  • pick up 2 beads and go down 2 levels through the 4th bead

flat herringbone - 3th round - add second pair

  • go up 2 levels through the 5th bead, pick up 2 beads and go down 2 levels through the last bead
  • as a consequence, you go UP and DOWN two levels in the 3rd row, but only in the 3rd row, in order to stabilize the row below

SEE - part 2